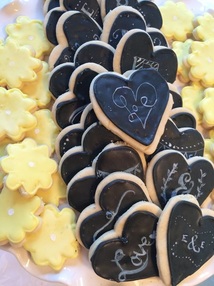
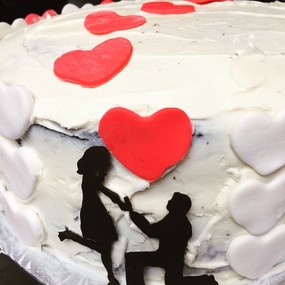
| Welcome back to PB & Ellie, everyone! And by "everyone," I am of course including myself. It's been about 7 months since my last blog post, so please let me explain myself! 1 week after my last post, I became obsessed with filling my free time spent online with a new hobby: planning my wedding. That's right, every extra moment I had online was spent Pinteresearching (can I trademark that term?) my new Fiancé and my wedding! And then of course, my beautiful sister got engaged! So now I am Pinteresearching her wedding (perhaps against her wishes). Nonetheless- I have still been baking up a storm, and simply failing to write about it. For example, we had my future father-in-law's birthday cake: 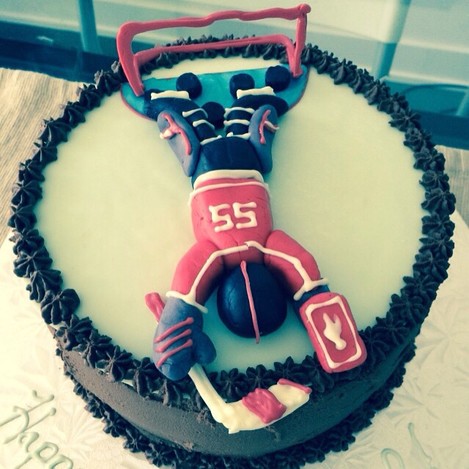 We also had these delicious s'mores inspired cupcakes for "Treat Day" at my Fiancé's office. 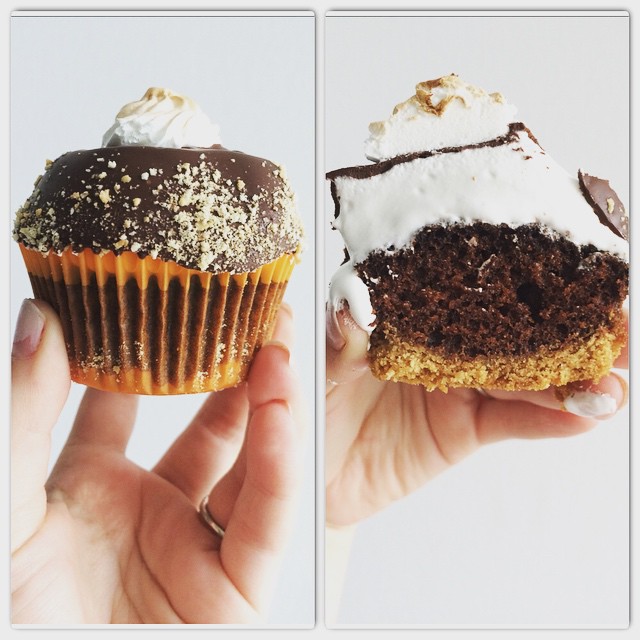 And of course, there were the cakes and cookies at our engagement party! (Please note, the fabulous silhouette featured on the cake was piped by my sister, Lauren, for my hands are way too shakey).
But when one of my best friends asked me to make an elaborate cake for her boyfriend's 28th birthday, I figured this one deserved to be blogged about! She sent me pictures of so many fun ideas for a football-themed cake, that we ultimately came up with a fairly crazy cake, that features some techniques that I thought readers of my blog may want to emulate. So here we go, a step-by-step guide for how to create your very own Exploding Cake!! (Unless of course you want to just buy one from me which I will never dissuade you from doing...) Let's begin first with the Vanilla Cake recipe. This recipe has relatively high sugar and butter content (sorry health nuts- this blog just is not for you!) and creates a crust on the top once baked. Do not fear if this happens to you- it is supposed to happen! So you will need:
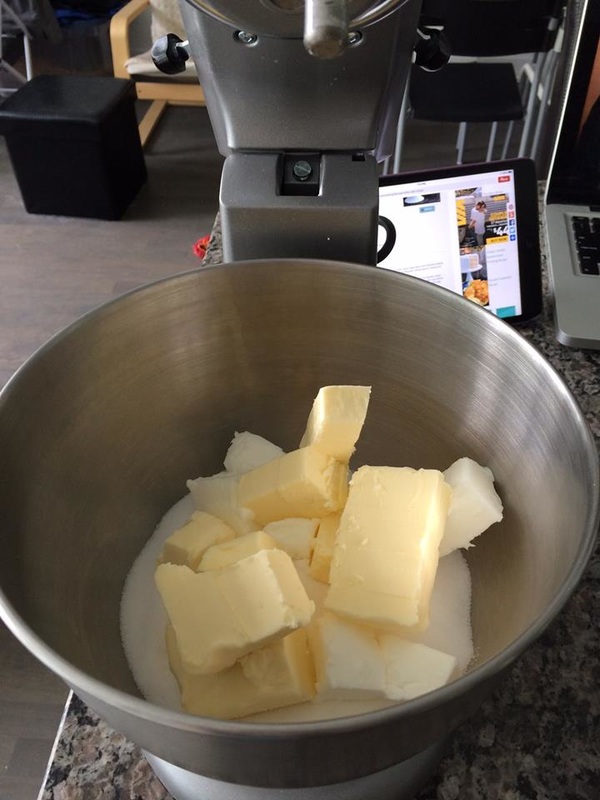
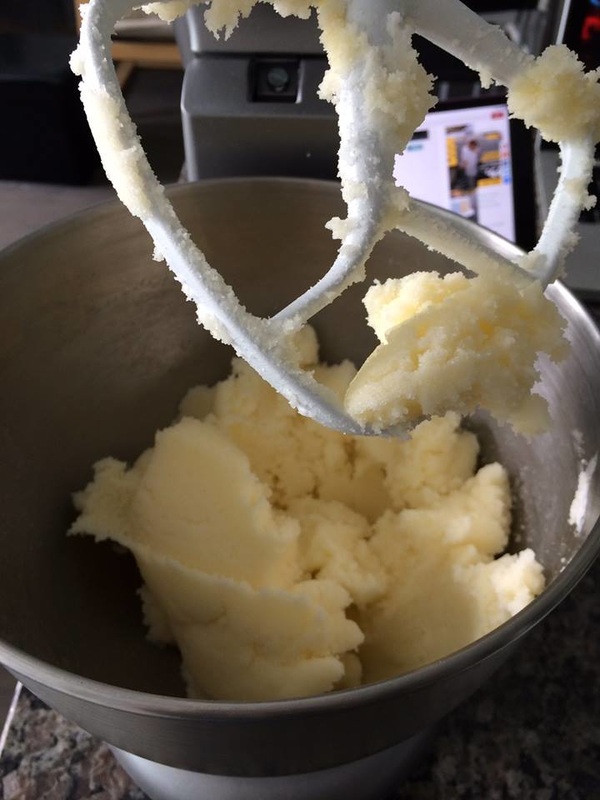
Begin by creaming together your butter, shortening, and sugar. Once this mixture looks light and fluffy, add in your eggs one at a time, followed by the vanilla.
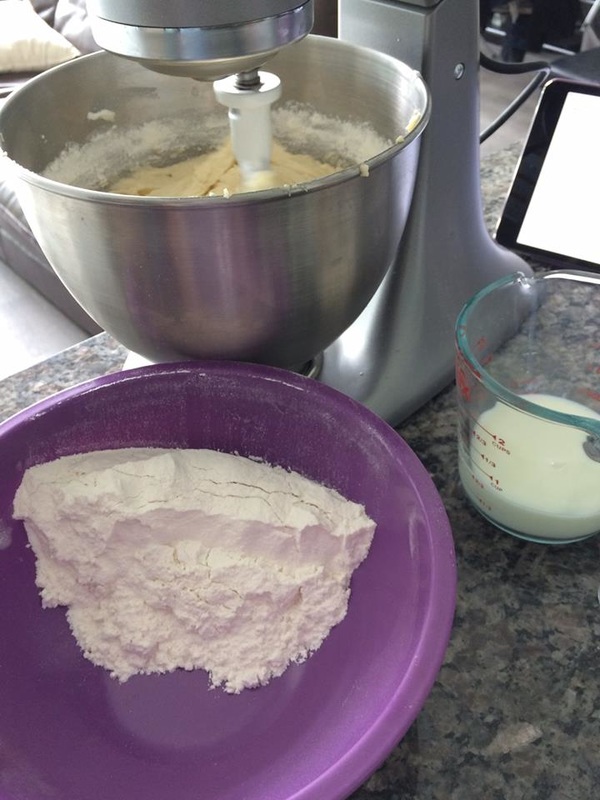
Next combine your dry ingredients, and have your milks (the whole milk and the buttermilk) ready to go. You will alternate adding in the dry ingredients and the milks, mixing the batter thoroughly between each addition. You should begin and end with the dry mixture.
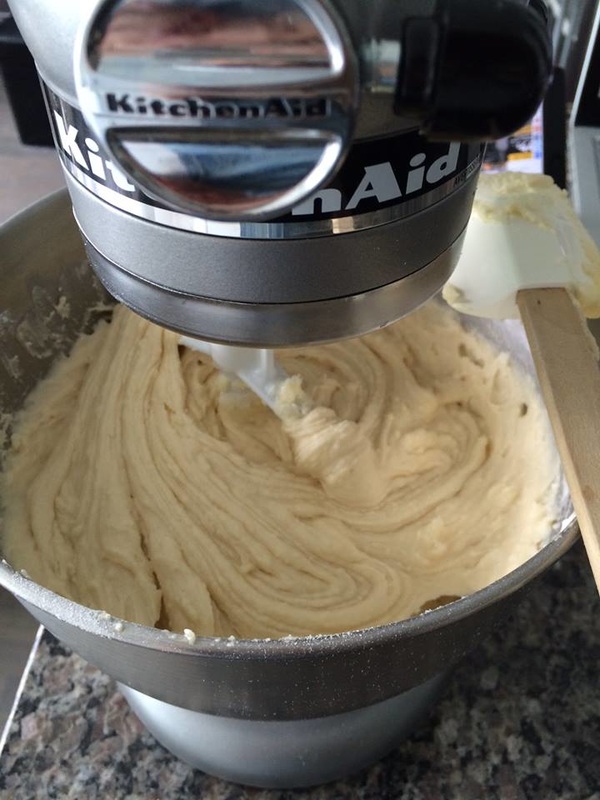
I'll be honest with all of you. At this point, I was just not feeling this batter. So white... So I had a thought to make it better...
|
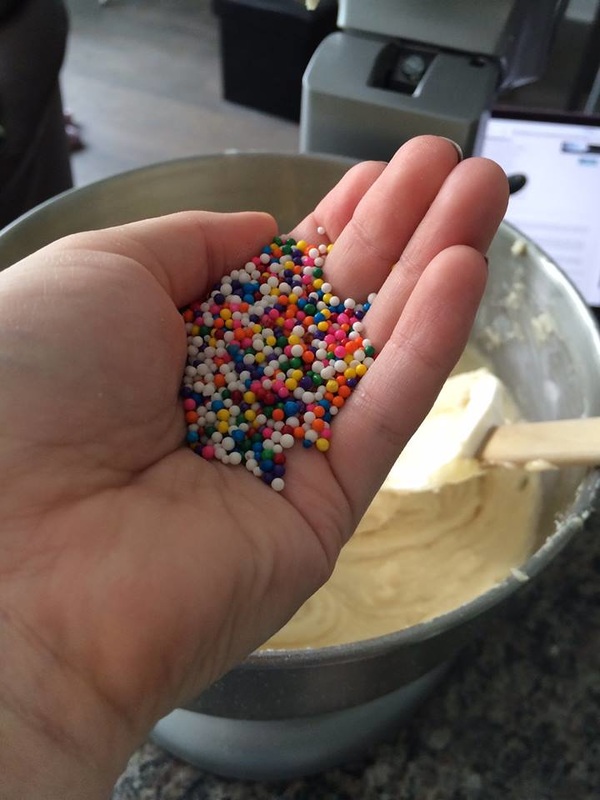

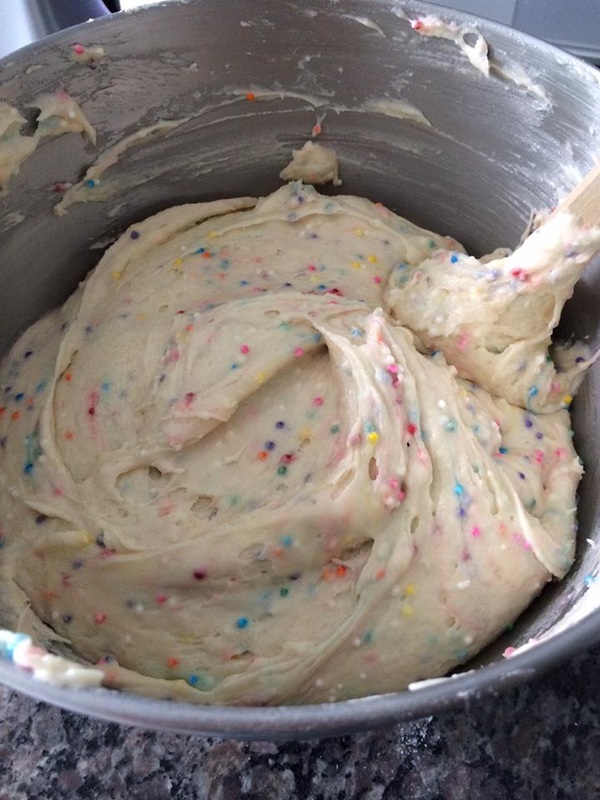
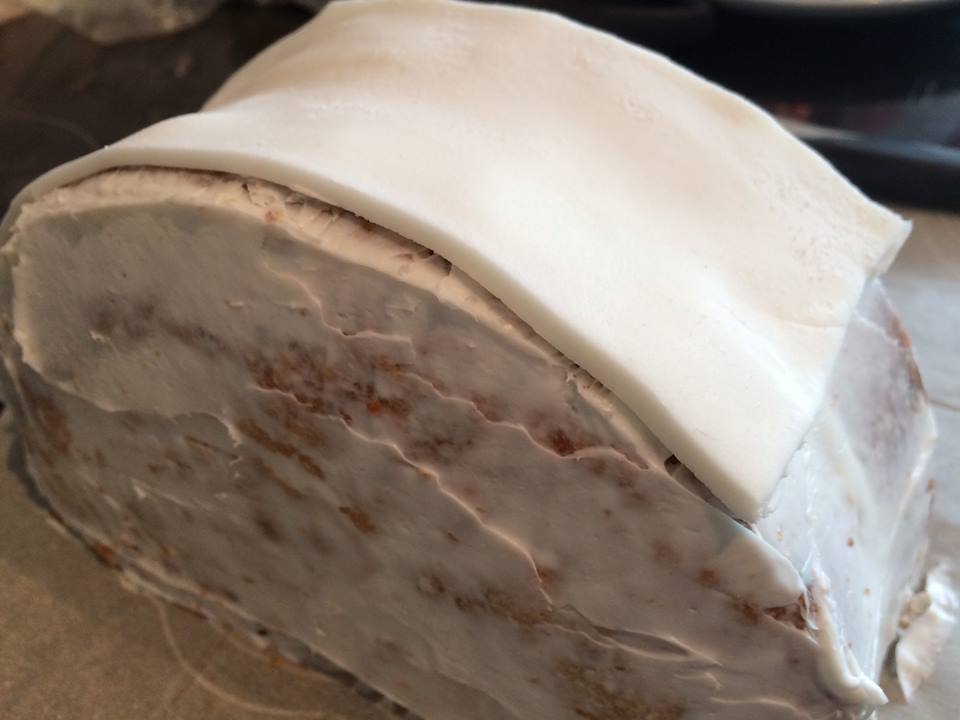
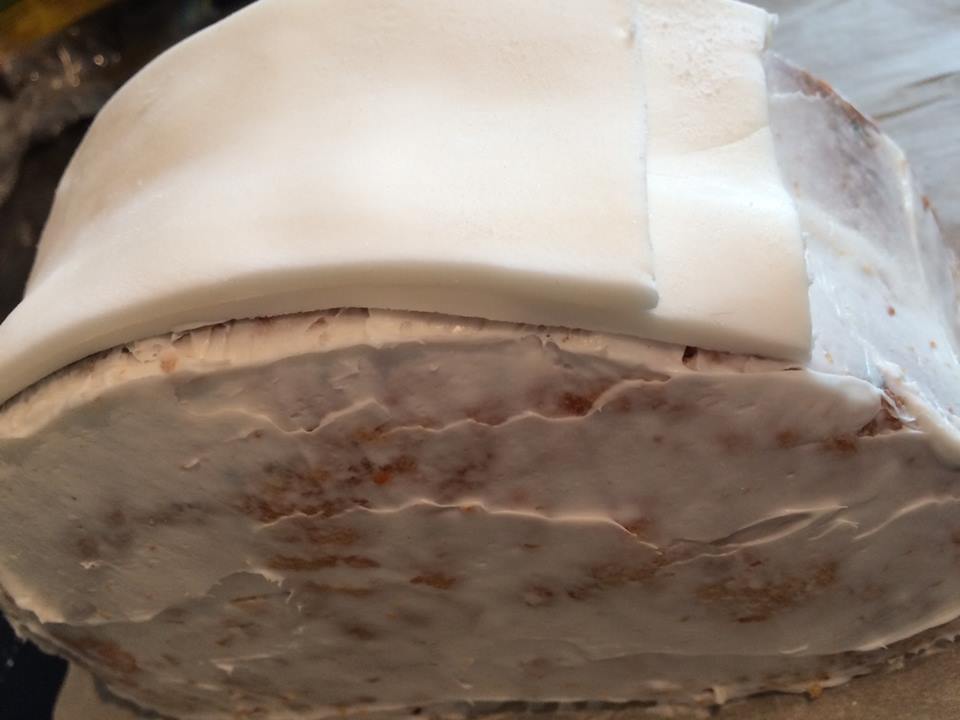
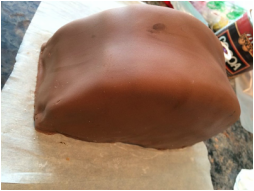
| FUNFETTI!! Now, for the design that I had in mind for this cake, I had to divide my batter into 1-9 inch circle pan and 12 cupcake liners. The picture I have here has my cupcake liners filled way too much- keep them filled about 2/3 of the way. Bake these beauties at 350 F; about 20 minutes for the cupcakes and 30 minutes for the cake. As always, test doneness by inserting a toothpick through the center of the cake. If it comes out clean, your cake is done! 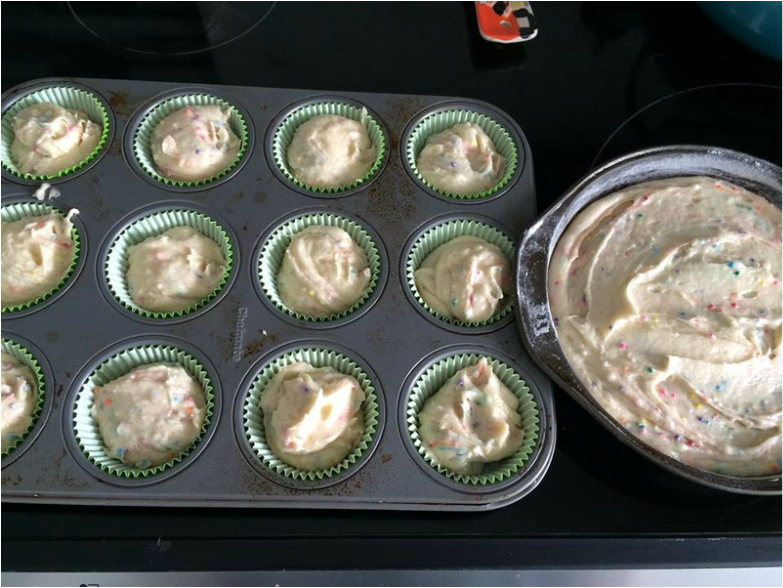 Decorating Time! Begin by cutting your cooled 9-inch cake in half. 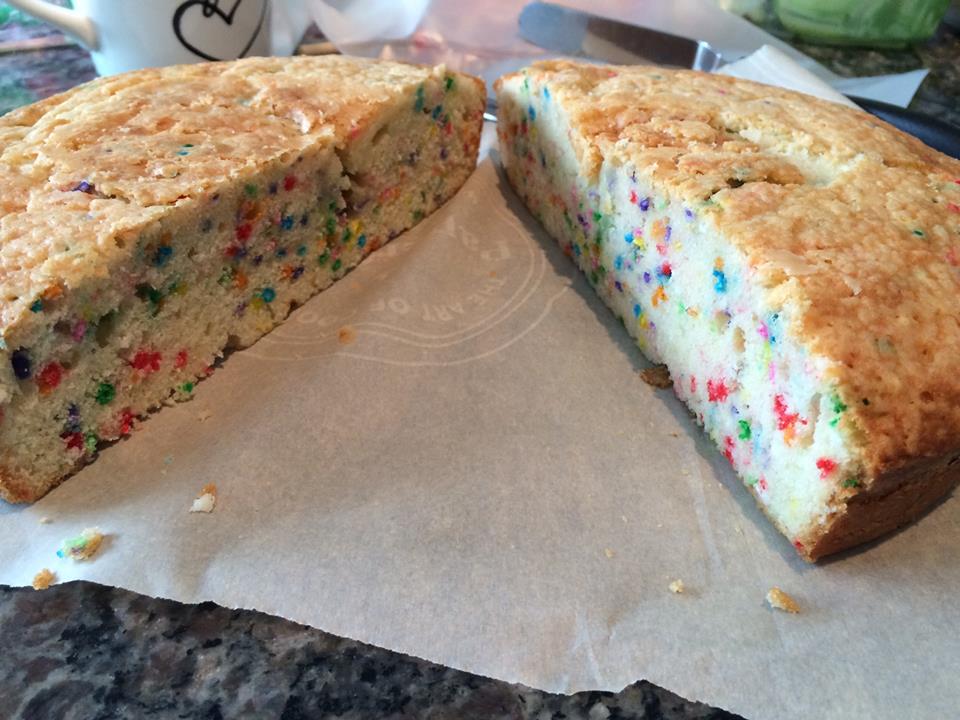 Look at all of those sprinkles! Love it! Now stand your two halves on their cut sides, press them together with frosting, and lightly "dirty ice" your entire cake. Allow this to chill, simply to make further decorating easier. 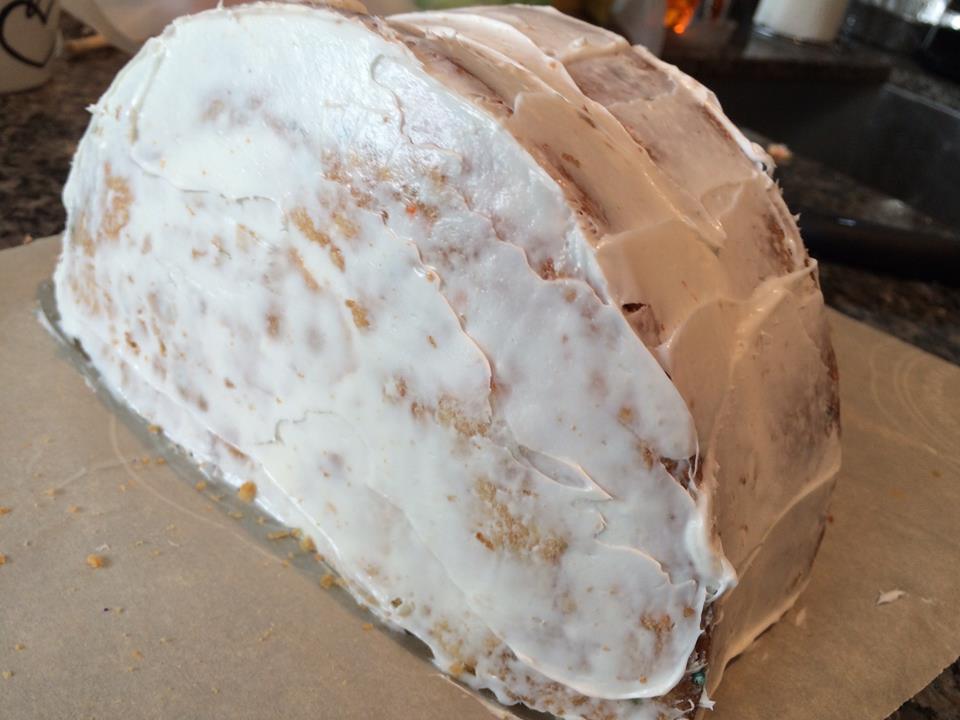 Now prepare your fondant. As I mentioned earlier, this is going to be a football themed cake, so I needed a deep brown colour. Of course, you can simply buy the brown coloured fondant, but I enjoy making my life difficult, and so I coloured this one myself. For fondant, always use gel-based food colouring, as liquid colouring will murder your fondant. For this particular shade of brown, I used Brown and a hint of Burgundy. Be sure to leave yourself some white fondant for the following steps. Another useful tip: people often recommend kneading your fondant on a icing sugar-covered surface. Since I was making a brown, I used cocoa powder! It prevented the fondant from sticking on my counter, and gave the cake a hint of chocolate. (Maybe wear plastic gloves?) 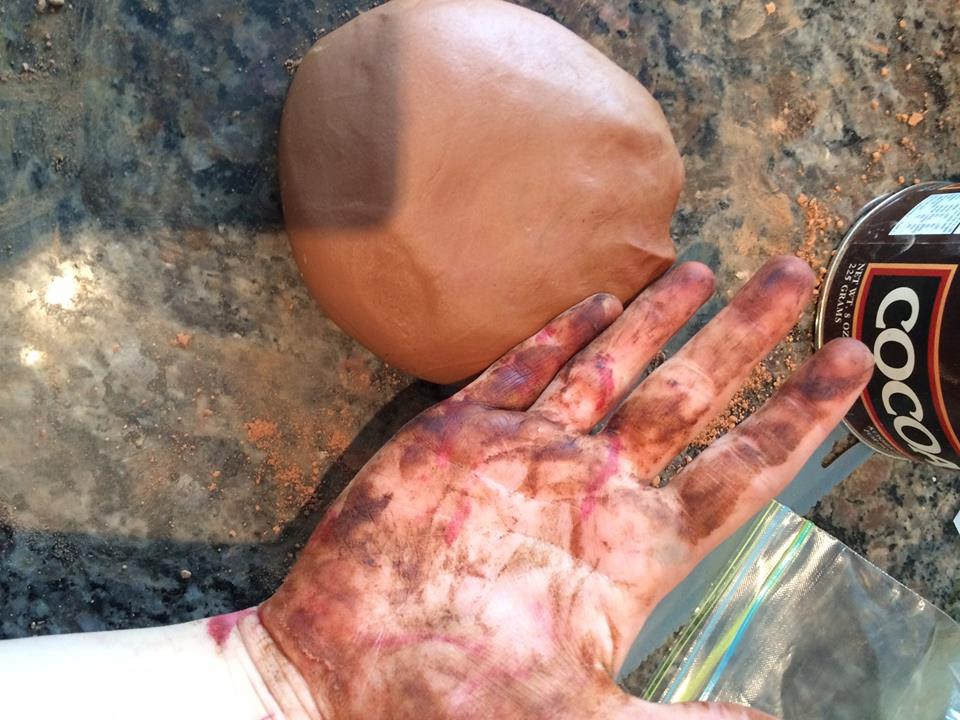 Roll out your fondant. Make two equal-sized white strips that can cover the top arch of your cake without folding over onto the sides. 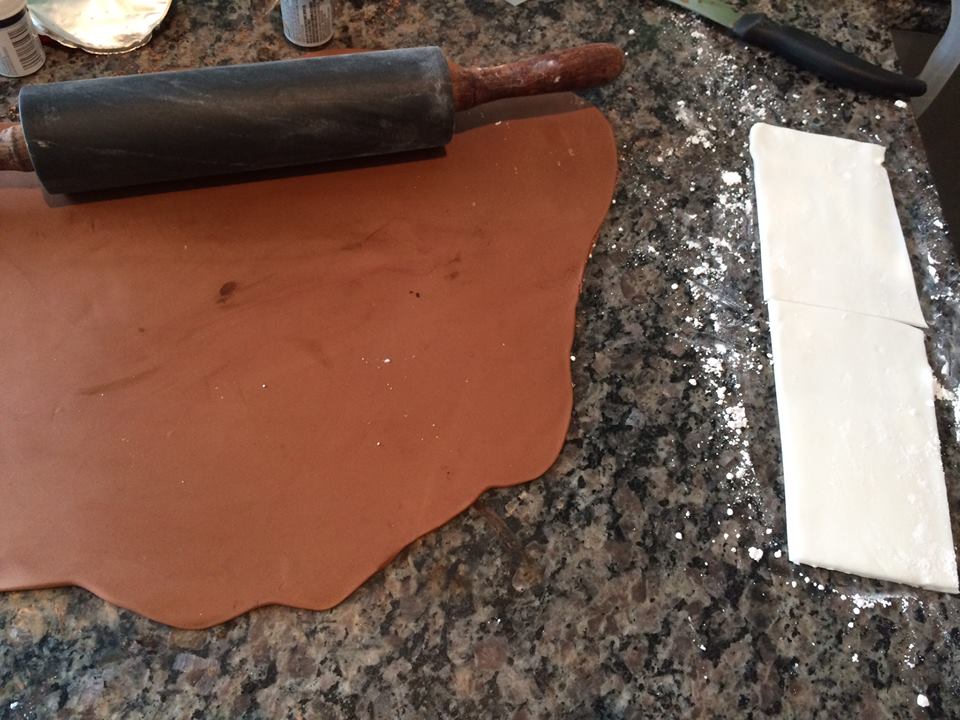 Begin covering your cake by applying the two white strips on the top, one atop the other. Follow this step by covering the entire cake with the brown fondant.
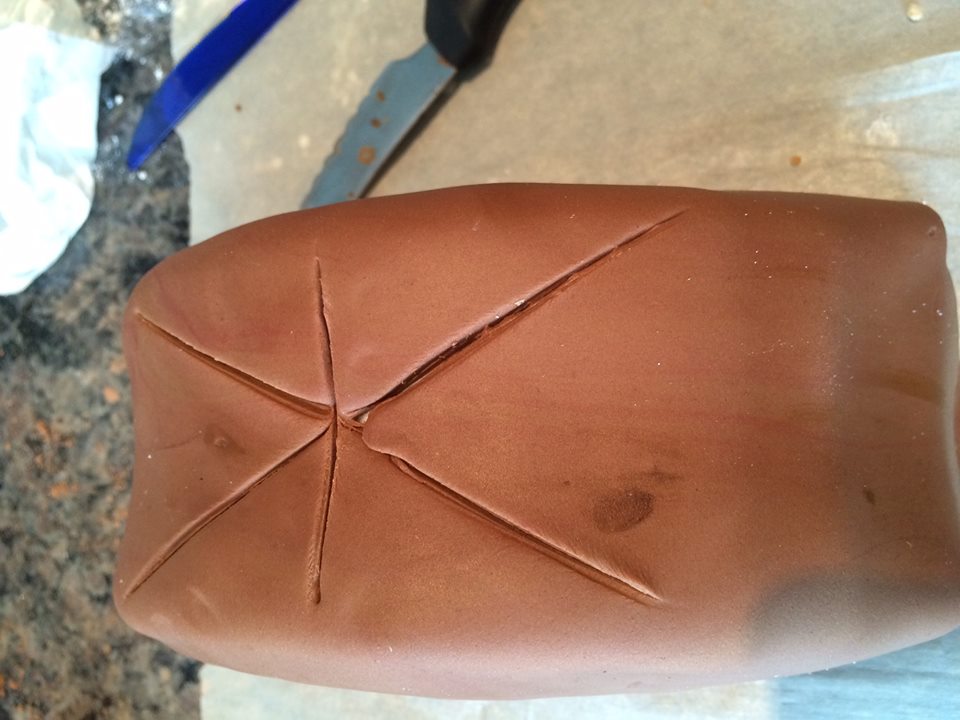
Score the top of your cake and pull back the flaps of the brown fondant, and one layer of white, leaving an exposed layer of white fondant.
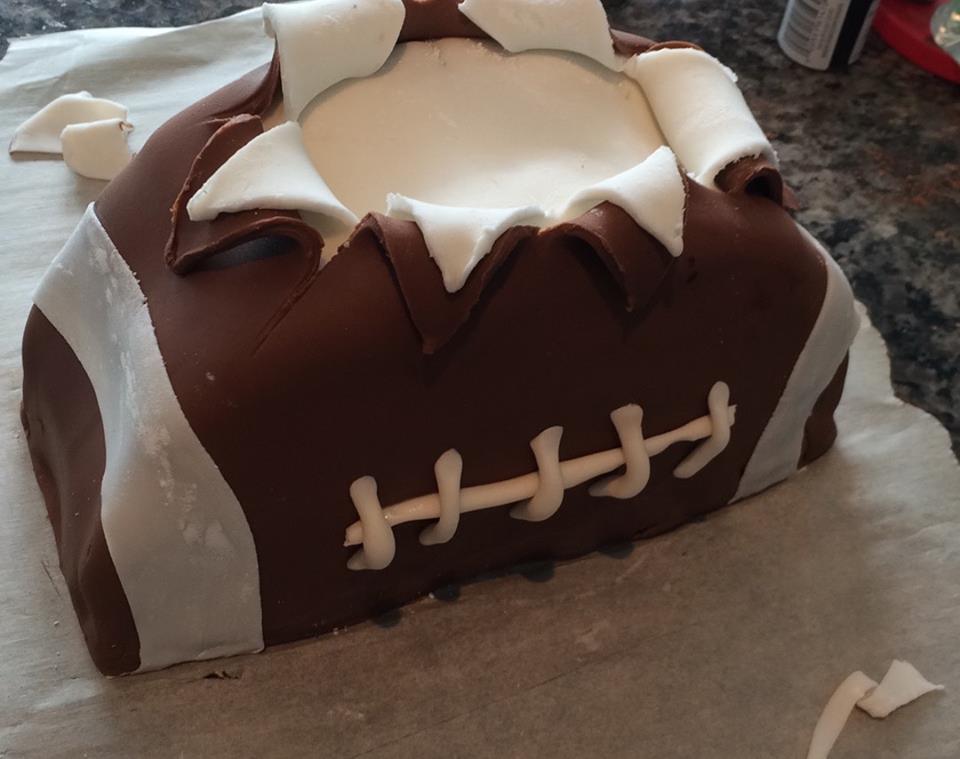
I have to admit, I never like my cakes until they have all of their fun little details added. So go wild- make this cake look as beautiful as you want! 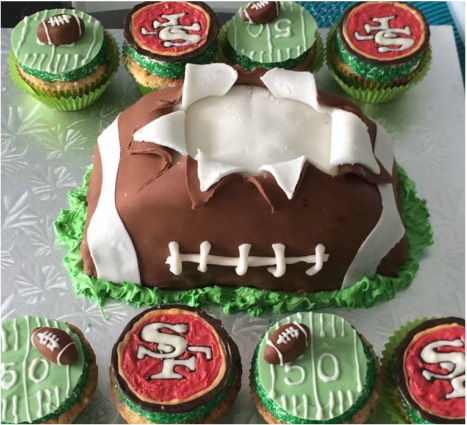 Oh!! And don't forget to add the explosion! I used chocolates and sparklers to make this cake really pop! 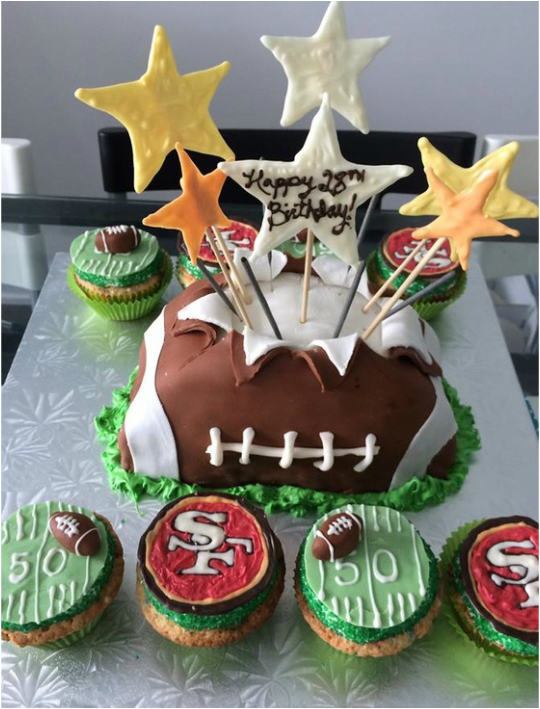 From what I hear, this cake was a huge hit, and I'm so glad!! Before I end this crazy-long post, I have a quick question for all of you reading this. Would you like to have some hands-on cake decorating classes with me, where I can actually show you how to create fun cake creations, rather than post less-than-quality photos on this blog?? Please reply on the poll below, as I am considering beginning cake decorating lessons from my home in Toronto. Ask your friends! Xoxo |
 RSS Feed